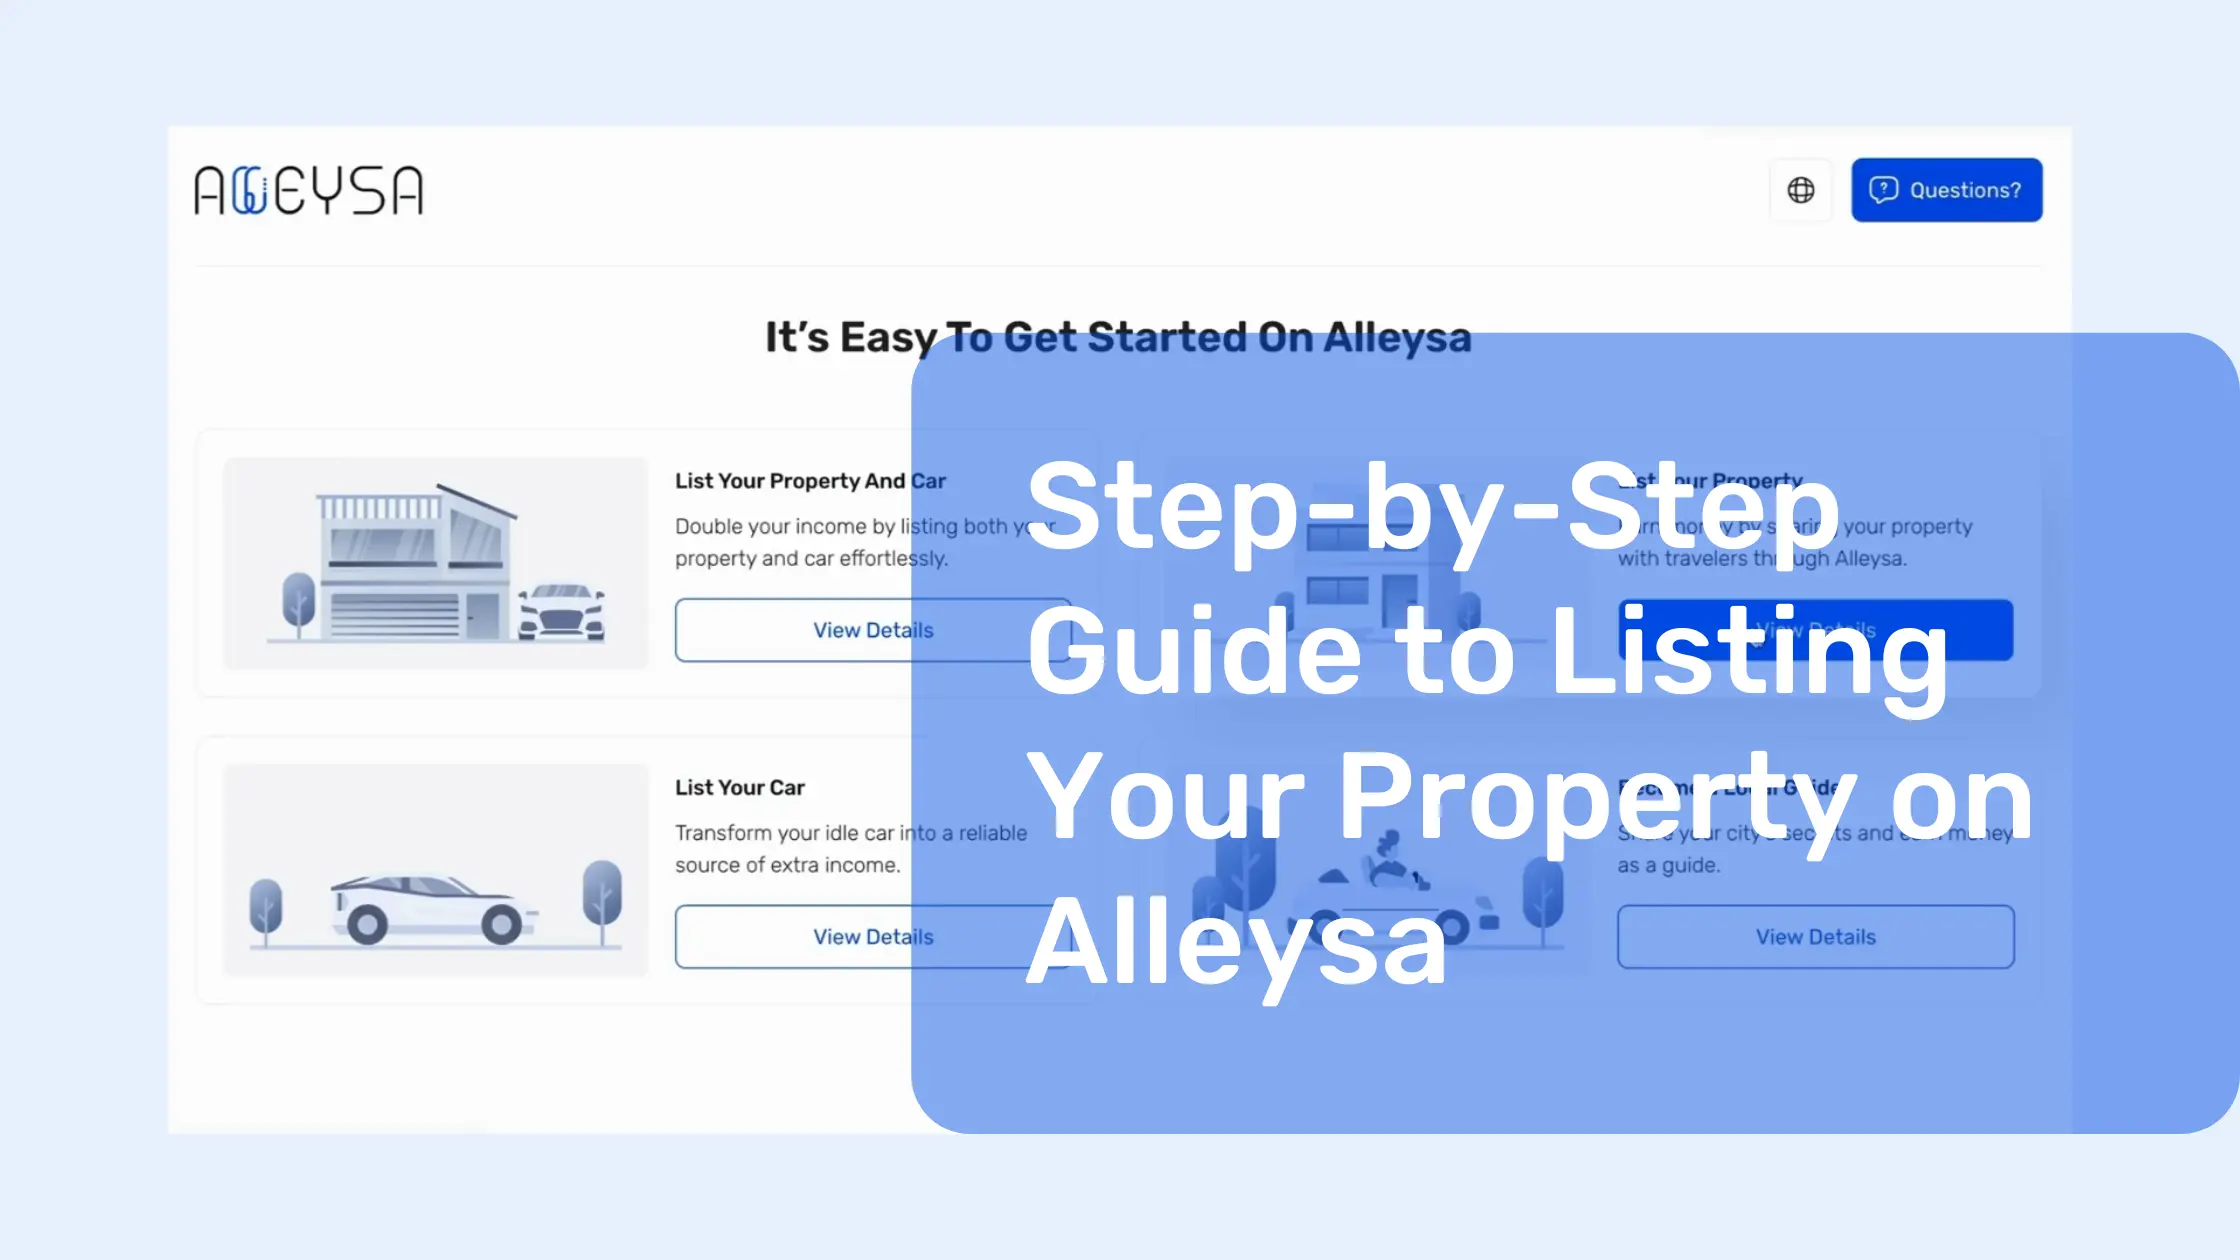
Step-by-Step Guide to Listing Your Property on Alleysa
Step-by-Step Guide to Listing Your Property on Alleysa
Are you ready to turn your property into a reliable income stream? Alleysa makes it easy for property owners to list their spaces, connect with global travelers, and start earning. Whether you have a cozy apartment, a lakeside cabin, or a downtown studio, Alleysa’s intuitive platform helps you every step of the way.
In this blog, we’ll break down the process of listing your property step-by-step. Plus, we’ve included a helpful YouTube video tutorial to guide you visually. Let’s get started!
Why Choose Alleysa?
Alleysa isn’t just another listing platform—it’s your partner in maximizing your earnings. Here’s why hosts love Alleysa:
Global Visibility: Your property gets showcased to travelers worldwide.
Control Over Pricing: You set your rates and availability.
User-Friendly Tools: From uploading photos to managing bookings, every feature is designed for ease.
Secure and Reliable: Trust that your property is in good hands with Alleysa’s secure platform.
Step-by-Step Process to List Your Property on Alleysa
Whether you’re a first-time host or an experienced property manager, Alleysa’s streamlined process will have your listing live in no time.
1. Sign Up and Create Your Account
Start by visiting Alleysa.com and clicking on “Sign Up.” Fill in your details, confirm your email, and log in. It’s that simple!
2. Watch Our YouTube Video for a Visual Walkthrough
Want a hands-on guide? Watch our step-by-step video tutorial on YouTube to see exactly how to list your property.
This video provides a visual explanation of each step in the process, from setting your location to finalizing your listing. Don’t forget to like, comment, and subscribe to our channel for more helpful tutorials!
3. Start Your Property Listing
Once you’re logged in, click on “Become a Host” and then “List Your Property.” This will take you to a guided form where you’ll fill out all the necessary details.
4. Set Your Location
Travelers need to know where your property is located. Input the exact address and confirm it by pinning your property on the map. Accuracy here is key to ensuring travelers can find your space with ease.
5. Provide Property Details
Add details about your property to make your listing appealing:
Property type (apartment, house, cabin, etc.)
Amenities like Wi-Fi, parking, or a pool
Maximum guest capacity
Bedroom and bathroom count
These details help travelers choose the perfect stay.
6. Upload Stunning Photos
Photos are your property’s first impression. Upload clear, high-quality images that showcase the best features of your space. Tips for great photos:
Use natural lighting
Declutter the space
Highlight key features, such as views or unique designs
7. Set Your Pricing
Define your pricing strategy to attract travelers while maximizing earnings. On Alleysa, you can:
Set a base price per night
Add special weekend or seasonal rates
Adjust for cleaning or service fees
Competitive pricing will ensure your property stays booked.
8. Review and Upload Your Listing
Before you hit publish, double-check your listing for accuracy. Make sure all details, from location to pricing, are correct. Once satisfied, click “Finish and Upload.”
9. Approval from Admin
After uploading, your listing will undergo a quick review to ensure it meets Alleysa’s guidelines. Once approved, your property will go live on the platform, ready to welcome travelers!
Pro Tips for Successful Hosting
Write a Captivating Description: Use clear and inviting language to describe your property. Highlight unique features like proximity to attractions or breathtaking views.
Update Your Calendar Regularly: Keep your availability accurate to avoid double bookings.
Encourage Reviews: Positive guest reviews can boost your listing’s visibility and appeal.
Stay Responsive: Quickly reply to traveler inquiries to secure more bookings.
Why Our Video Tutorial is a Must-Watch
Our YouTube video is the ultimate guide to listing your property. It complements this blog by offering a visual step-by-step walkthrough. See how to:
Set your property location
Add specific details and photos
Optimize your pricing strategy
Submit your listing for approval
🎥 Watch it here:
Take Action Today!
Listing your property on Alleysa isn’t just easy—it’s an opportunity to join a growing community of hosts transforming travel. Start earning today by listing your space, and let travelers experience the unique charm of your property.
Step-by-Step Guide to Listing Your Property on Alleysa
Step-by-Step Guide to Listing Your Property on Alleysa
Are you ready to turn your property into a reliable income stream? Alleysa makes it easy for property owners to list their spaces, connect with global travelers, and start earning. Whether you have a cozy apartment, a lakeside cabin, or a downtown studio, Alleysa’s intuitive platform helps you every step of the way.
In this blog, we’ll break down the process of listing your property step-by-step. Plus, we’ve included a helpful YouTube video tutorial to guide you visually. Let’s get started!
Why Choose Alleysa?
Alleysa isn’t just another listing platform—it’s your partner in maximizing your earnings. Here’s why hosts love Alleysa:
Global Visibility: Your property gets showcased to travelers worldwide.
Control Over Pricing: You set your rates and availability.
User-Friendly Tools: From uploading photos to managing bookings, every feature is designed for ease.
Secure and Reliable: Trust that your property is in good hands with Alleysa’s secure platform.
Step-by-Step Process to List Your Property on Alleysa
Whether you’re a first-time host or an experienced property manager, Alleysa’s streamlined process will have your listing live in no time.
1. Sign Up and Create Your Account
Start by visiting Alleysa.com and clicking on “Sign Up.” Fill in your details, confirm your email, and log in. It’s that simple!
2. Watch Our YouTube Video for a Visual Walkthrough
Want a hands-on guide? Watch our step-by-step video tutorial on YouTube to see exactly how to list your property.
This video provides a visual explanation of each step in the process, from setting your location to finalizing your listing. Don’t forget to like, comment, and subscribe to our channel for more helpful tutorials!
3. Start Your Property Listing
Once you’re logged in, click on “Become a Host” and then “List Your Property.” This will take you to a guided form where you’ll fill out all the necessary details.
4. Set Your Location
Travelers need to know where your property is located. Input the exact address and confirm it by pinning your property on the map. Accuracy here is key to ensuring travelers can find your space with ease.
5. Provide Property Details
Add details about your property to make your listing appealing:
Property type (apartment, house, cabin, etc.)
Amenities like Wi-Fi, parking, or a pool
Maximum guest capacity
Bedroom and bathroom count
These details help travelers choose the perfect stay.
6. Upload Stunning Photos
Photos are your property’s first impression. Upload clear, high-quality images that showcase the best features of your space. Tips for great photos:
Use natural lighting
Declutter the space
Highlight key features, such as views or unique designs
7. Set Your Pricing
Define your pricing strategy to attract travelers while maximizing earnings. On Alleysa, you can:
Set a base price per night
Add special weekend or seasonal rates
Adjust for cleaning or service fees
Competitive pricing will ensure your property stays booked.
8. Review and Upload Your Listing
Before you hit publish, double-check your listing for accuracy. Make sure all details, from location to pricing, are correct. Once satisfied, click “Finish and Upload.”
9. Approval from Admin
After uploading, your listing will undergo a quick review to ensure it meets Alleysa’s guidelines. Once approved, your property will go live on the platform, ready to welcome travelers!
Pro Tips for Successful Hosting
Write a Captivating Description: Use clear and inviting language to describe your property. Highlight unique features like proximity to attractions or breathtaking views.
Update Your Calendar Regularly: Keep your availability accurate to avoid double bookings.
Encourage Reviews: Positive guest reviews can boost your listing’s visibility and appeal.
Stay Responsive: Quickly reply to traveler inquiries to secure more bookings.
Why Our Video Tutorial is a Must-Watch
Our YouTube video is the ultimate guide to listing your property. It complements this blog by offering a visual step-by-step walkthrough. See how to:
Set your property location
Add specific details and photos
Optimize your pricing strategy
Submit your listing for approval
🎥 Watch it here:
Take Action Today!
Listing your property on Alleysa isn’t just easy—it’s an opportunity to join a growing community of hosts transforming travel. Start earning today by listing your space, and let travelers experience the unique charm of your property.